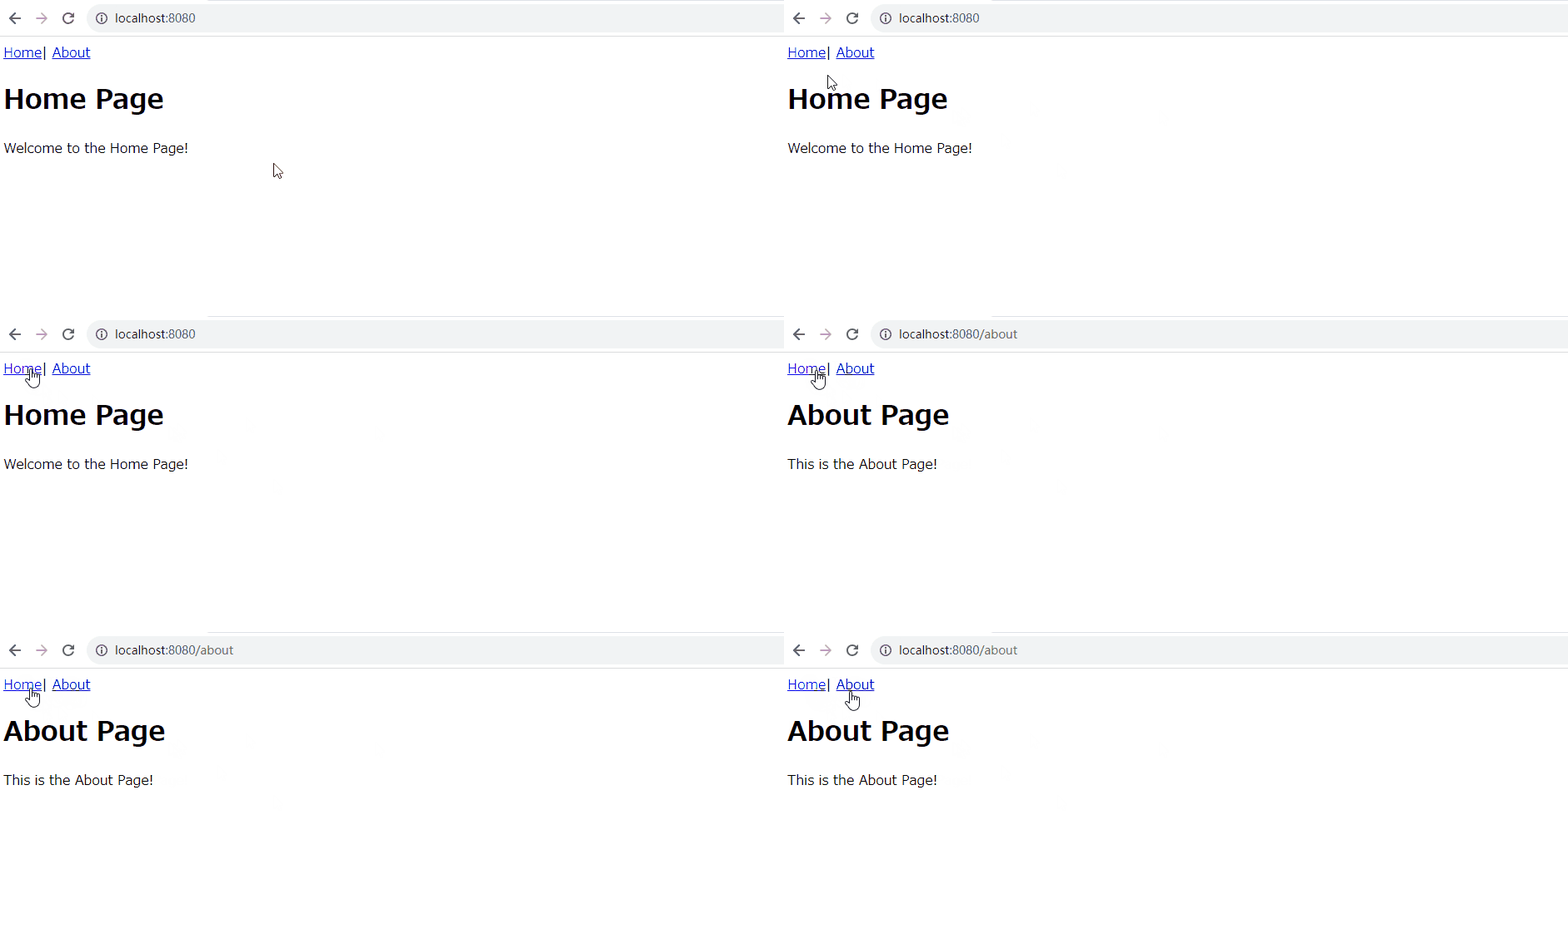
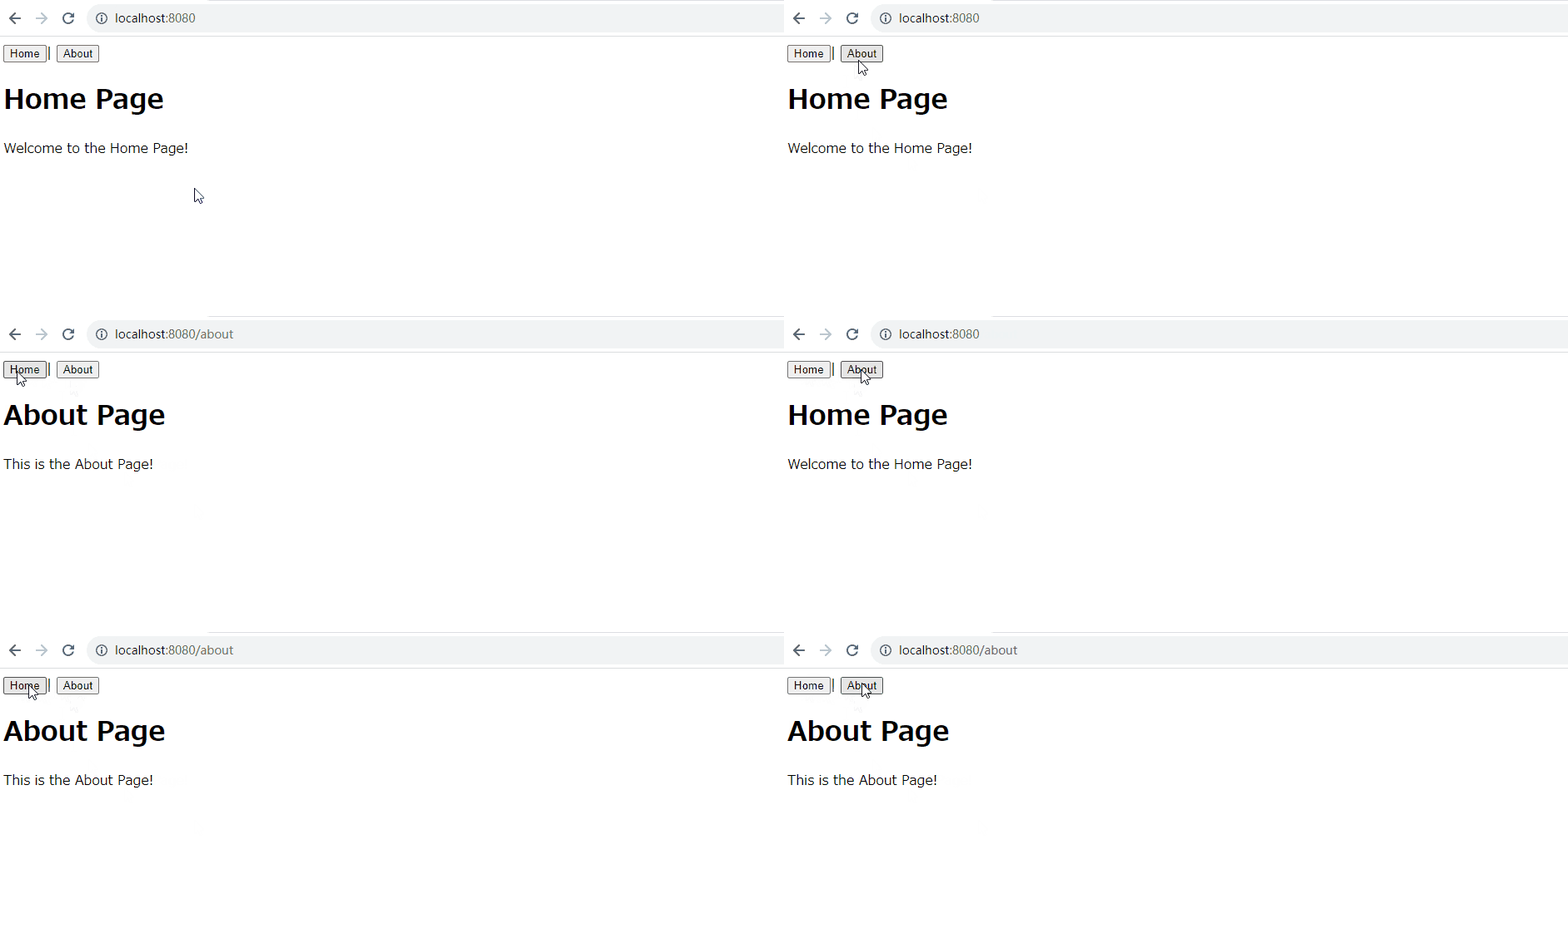
Vue Router は、Vue.js アプリケーションに対する公式のルーティングライブラリです。Vue Router を使用すると、シングルページアプリケーション(SPA)内でページ間のナビゲーションを簡単に設定できます。以下では、Vue Router の基本的な使用法を説明します。
Vue Router の導入
Vue CLI を使用してプロジェクトを作成した場合、Vue Router は既にセットアップされているか、プロジェクトの作成時に選択肢として提供されることが一般的です。もしそうでない場合は、以下のコマンドで Vue Router をプロジェクトに追加できます:
vue add router
基本的な Vue Router の設定
src/componentsディレクトリ内にHome.vueとAbout.vueの 2 つのコンポーネントを作成します
src/components/Home.vue
<template>
  <div>
    <h1>Home Page</h1>
    <p>Welcome to the Home Page!</p>
  </div>
</template>
src/components/About.vue
<template>
  <div>
    <h1>About Page</h1>
    <p>This is the About Page!</p>
  </div>
</template>
- ファイルを作成して Vue Router を設定する
src/router/index.js
import { createRouter, createWebHistory } from "vue-router";
import Home from "@/views/Home.vue";
import About from "@/views/About.vue";

const routes = [
  {
    path: "/",
    name: "Home",
    component: Home,
  },
  {
    path: "/about",
    name: "About",
    component: About,
  },
];

const router = createRouter({
  mode: "history",
  history: createWebHistory(process.env.BASE_URL),
  routes,
});

export default router;
- Vue Router を使って定義したルートは、
<router-view>コンポーネントを使用して表示される
また、<router-link>コンポーネントを使用すると、ルート間をナビゲートするためのリンクを作成でる。
src/App.vue
<template>
  <router-link to="/">Home</router-link>|
  <router-link to="/about">About</router-link>
  <router-view></router-view>
</template>
これにより、ユーザーは「Home」および「About」リンクをクリックして、それぞれのルートに移動できます。
- リンクではなくボタンにしたい場合は、下記ように実装すればよいです。
src/App.vue
<template>
  <button @click="goHome">Home</button>|
  <button @click="goAbout">About</button>
  <router-view></router-view>
</template>
<script>
  export default {
    methods: {
      goHome() {
        this.$router.push("/");
      },
      goAbout() {
        this.$router.push("/about");
      },
    },
  };
</script>
- 実際の動作


